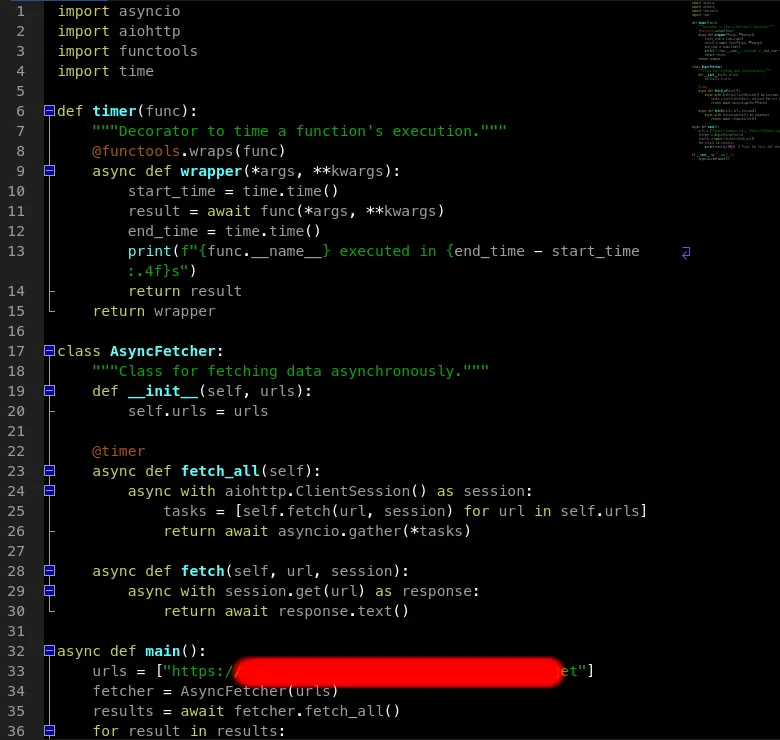
If you’re looking for a lightweight and versatile code editor, Geany is an excellent choice, especially for Windows users. Here’s a quick guide to help you install Geany and get started with Python programming.

Step 1: Download Geany
- Visit the Geany download page.
- Select the Windows version and download the installer.
Step 2: Install Geany
- Locate the downloaded installer and run it.
- Follow the installation prompts. The default settings will work for most users.
- Once the installation is complete, you can launch Geany from the Start menu.
Step 3: Set Up Python
Make sure you have Python installed on your system. If you haven’t installed it yet, check out my easy Python installation tutorial that takes just a few minutes to complete.
Once Python is installed, Geany is ready for programming—no additional extensions required!
Why Choose Geany?
Geany is often an overlooked gem in the coding world, and for good reason. Here are some advantages:
- Small Install Size: Geany is lightweight, making it quick to download and install. It won’t take up much space on your hard drive.
- Custom Themes: Personalize your coding environment with various themes to suit your style, enhancing your overall coding experience.
- Great for All Skill Levels: Whether you’re a beginner or a pro, Geany’s simple interface and robust features make it easy to write and manage code efficiently.
- Ready for Python: As soon as you have Python installed, you can start coding in Geany without any extra setup.
Having used Geany on Linux for years, I’m excited to transition to Windows 11 while bringing my favorite code editor with me. It’s a powerful tool that has served me well, and I believe it can do the same for you.
In summary, Geany is a fantastic choice for anyone looking to code efficiently, whether you’re just starting out or have years of experience. Give it a try, and you might just find your new favorite coding companion!