If you’ve never used a terminal text editor before, editing configuration files on GhostBSD can seem tricky. Learning a few Nano commands will enable you to write and save your edits.
Step 1: Install Nano
Open the terminal and type:
sudo pkg install nanoWhen prompted, type y (for yes) and enter.
Step 2: Open a File with Nano
To open a file, type:
nano filenameFor example, to edit the system config file:
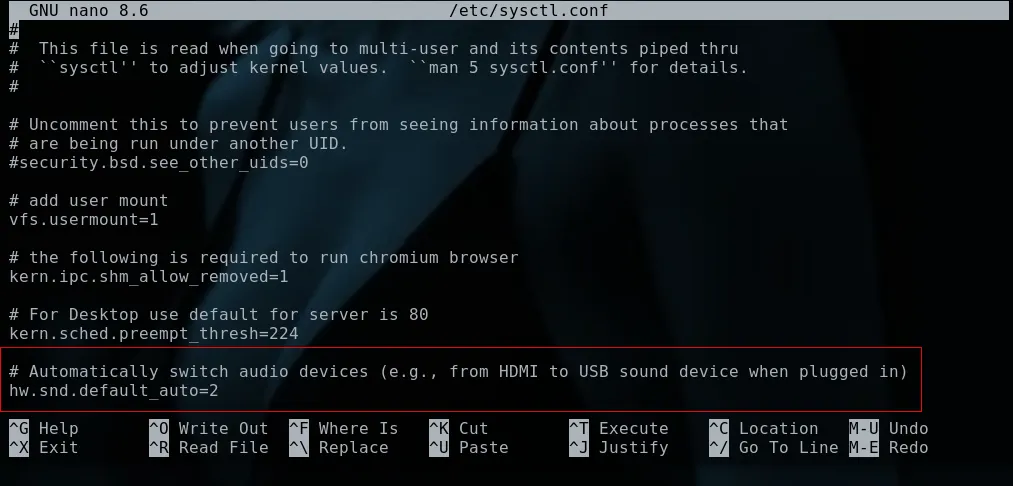
sudo nano /etc/sysctl.confStep 3: Understand the Nano Interface
When Nano opens, you’ll see the file’s text with the cursor in the top-left corner.
- Use the arrow keys to move the cursor to where you want to type or delete text.
- When the cursor is at the right position, start typing your text.
- To delete text, use the Backspace key.
Understanding this concept is key. After a few edits, creating and modifying files will become easy. I encourage you to spend time with Nano and get used to it. You will be using it a lot.
Step 4: How to Save Your Changes
Here is a quick and simple way to save a file:
- Press
Ctrl + X. - Nano will ask if you want to save changes. Press Y to save or N to exit without saving.
- If saving, Nano will ask for confirmation of the file name. Just press Enter to accept.
- This writes your changes and exits the editor.
Once you know how to move the cursor and type where it is, you can easily edit any text file in GhostBSD using Nano. Take your time, practice, and soon you’ll be comfortable with terminal text editing.
Geany Code Editor
While Nano is ideal for quick edits to system files in the terminal, for all other tasks, Geany is a more user-friendly, visual code editor. It supports many file types and is available through the Software Station.